English
 Türkçe
When a booster pump stops, the first instinct is to replace the entire set. Yet in the great majority of booster failures the pump hydraulics, meaning the impeller, the volute casing and the mechanical seal, are still sound; the part that actually burns out or loses its winding is the electric motor. In that case, replacing the whole set is both an unnecessary cost and usually a longer lead time. The right decision is to replace only the motor and keep the existing pump hydraulics. But this decision rests on a single condition: the new motor must fit the existing pump body, mounting position and electrical panel flawlessly.
In this article we examine, one by one, which values to read from the nameplate when replacing a burnt-out booster motor, why shaft-height and flange compatibility are critical, the special requirements of vertical mounting, and the matching points on the panel side. The aim is to move beyond simply saying "I need a motor" and to let you supply a motor that fits exactly on the first attempt.
Why Is Replacing Only the Motor the Right Call?
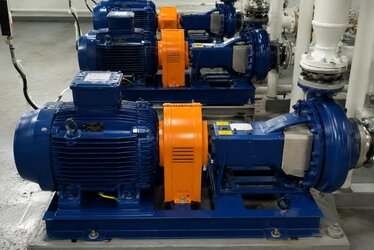
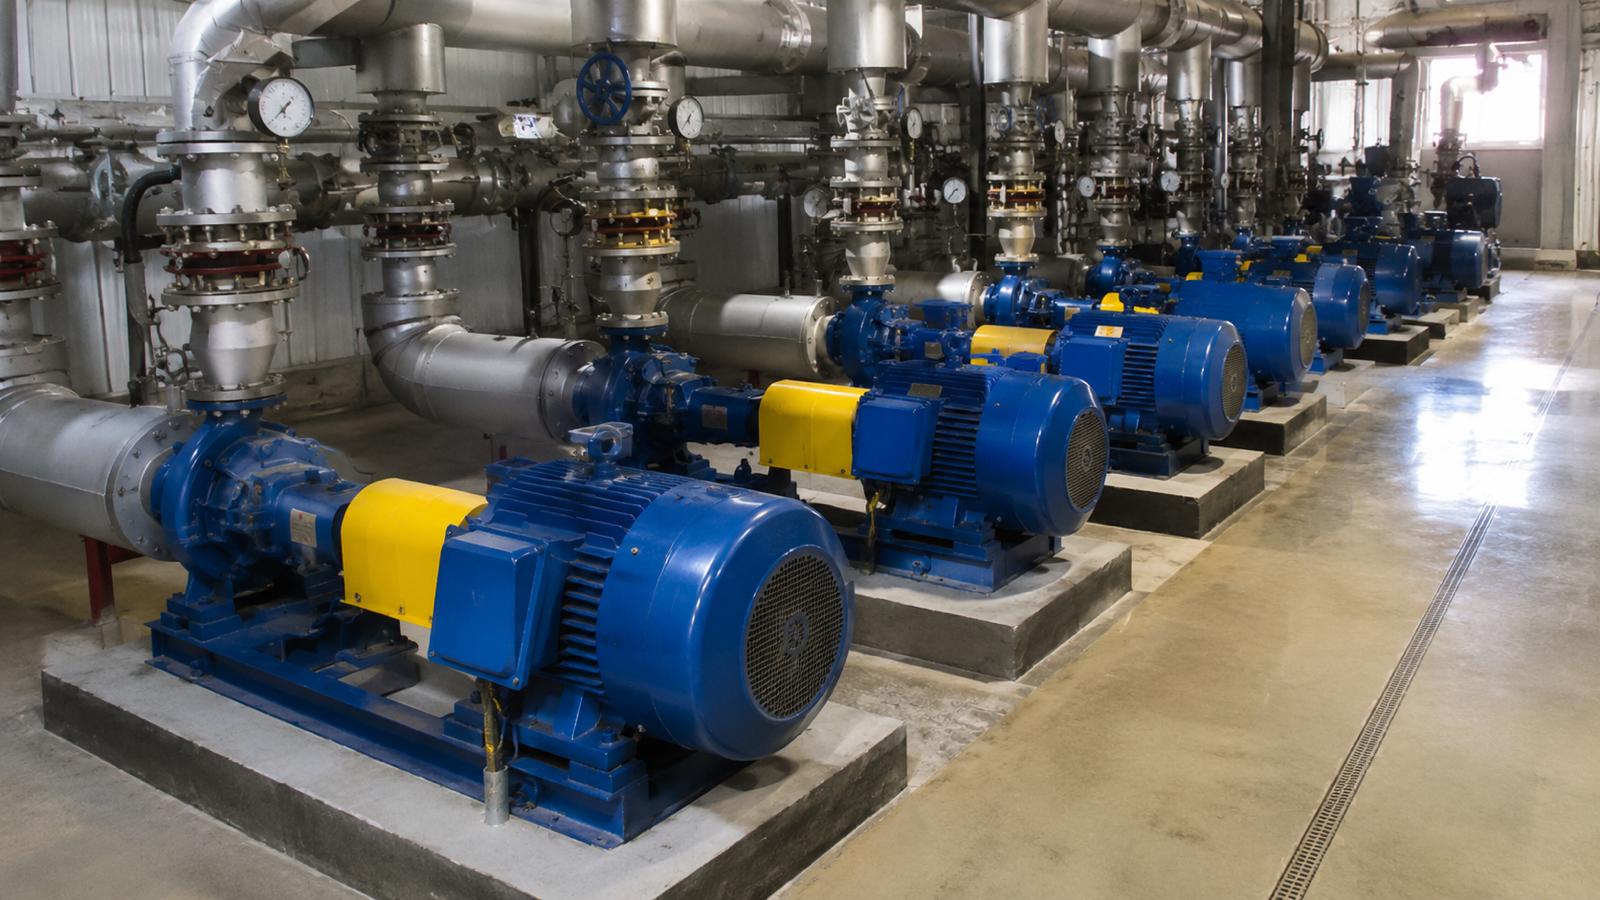
In booster sets the motor is usually connected directly to the pump through a flange or coupled by a coupling. When the motor winding burns out or its bearings wear severely, the mechanical part of the pump is most often untouched. If the impeller is balanced, the casing is sound and the sealing elements are in place, scrapping all these good parts to buy a complete set is not economical.
The advantages of replacing only the motor are:
- The cost stays markedly below that of renewing the complete set.
- The job is completed without removing existing pipework, valves or the manifold.
- When a suitable motor is found in stock, the lead time shortens and the water interruption is minimised.
- The pump's hydraulic character (flow versus head curve) does not change; the system keeps running at the same performance.
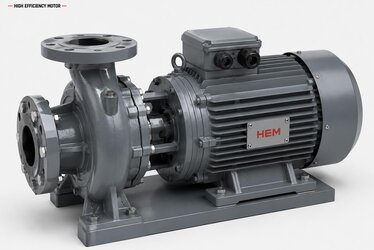
For this approach to work, the new motor must match the existing pump exactly. While selecting the right motor, you can review our pump and booster motors available from stock to quickly identify the correct variant.
Critical Values to Read From the Nameplate
The nameplate on the housing of the burnt-out motor is the primary source for selecting the replacement. In a booster application the following values matter in particular:
- Power (kW): Determined by the power the pump draws; it must be the same as the existing nameplate.
- Speed (rpm): Boosters typically use 2900 rpm (2-pole) motors, because pump head depends on high speed. If the speed changes, pressure and flow change.
- Mounting / flange type: The type of flange connecting to the pump (for example a large B5 flange or a small B14 flange) and its hole pattern.
- Frame and shaft height: The height at which the motor seats on the pump body.
- Shaft diameter and length: The dimension on which the pump impeller or coupling seats.
- Voltage and protection class: Voltage suiting the panel and at least IP55 for a humid environment.
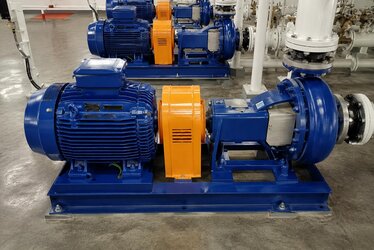
Shaft Height and Flange Compatibility
The most critical point in a booster motor replacement is flange compatibility. Because the motor connects to the pump through the flange, the flange diameter, number of holes, pitch-circle diameter and centre spigot dimension must all match exactly. Although flange sizes are standardised (for example a particular flange for frame 90, another for frame 112), these dimensions should be verified before ordering.
Shaft diameter is at least as important as the flange. If the pump impeller seats directly on the motor shaft, the smallest difference in shaft diameter prevents the impeller from fitting. It is therefore wise to measure the old motor's shaft with calipers and share the value with the supplier.
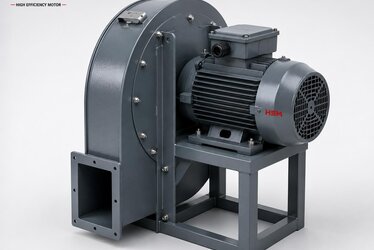
Vertical Mounting Requirements
Many booster sets are built so that the motor is mounted upright with its shaft pointing down. Vertical mounting (for example the IM V1 position) requires the motor's bearing arrangement and lubrication to suit that position. Forcing a motor designed for horizontal operation into an upright position can shorten bearing life. For this reason the mounting position must always be stated when selecting the new motor.
In vertical mounting, protection against water droplets that may fall onto the motor also becomes important. A terminal box facing the correct way and a cable entry pointing downward prevent water from seeping into the motor. These details may seem minor, but in vertical booster applications they directly affect motor life.
Panel-Side Matching Points
Even if the motor fits mechanically, the problem is not solved unless it is compatible with the electrical panel. The points to watch on the panel side are:
- Voltage and connection: The new motor must suit the existing panel's voltage (three-phase 400 V or single-phase 230 V).
- Rated current: The motor protection relay (thermal) must be adjustable to the new motor's current draw.
- Starting: If direct-on-line, star-delta or a soft starter is used, the motor must suit it.
- Pressure switch / sensor connection: The booster automation must continue to work without change.
To clarify all these points before ordering, the safest route is to share the old motor's nameplate photo and flange dimensions and obtain a quote and technical confirmation. That way the delivered motor seats on both the pump and the panel on the first attempt.
Frequently Asked Questions
Can I buy a higher-power booster motor?
It is generally not advised. The pump impeller is designed for a specific power; a much higher-power motor provides no benefit and even wastes energy. A lower power, on the other hand, cannot reach full head and may overload the motor. The best choice is a motor with the same power as the old nameplate. If you are planning a capacity change on the pump, be sure to evaluate it with the technical team.
What happens if I fit a motor with a different speed?
In boosters the head depends largely on speed. If you fit a 1450 rpm motor instead of a 2900 rpm one, the pressure and flow the pump delivers drop noticeably and the system cannot reach the required pressure. The speed must therefore be exactly the same as the old motor.
How do I verify the flange dimension?
After removing the old motor, measure with calipers the flange outer diameter, the number of holes, the pitch-circle diameter passing through the hole centres, and the centre spigot diameter. When you share these four dimensions and the nameplate photo with the supplier's technical team, an exactly matching flange-mounted motor can be confirmed and the risk of the wrong flange is eliminated.